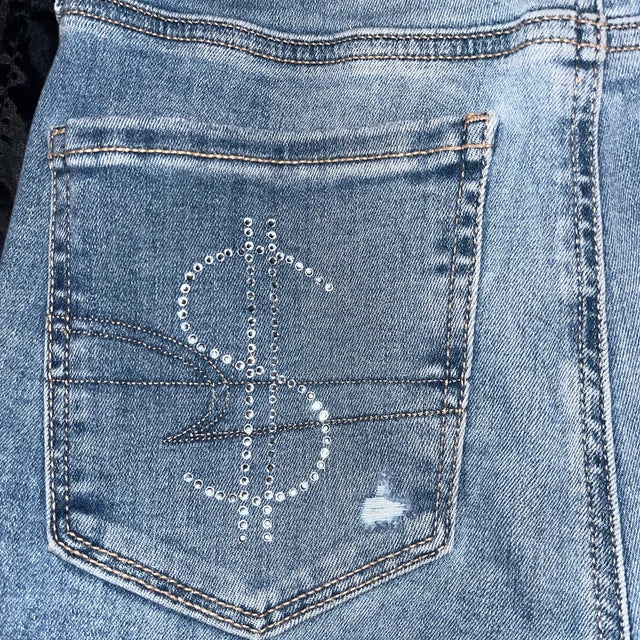
Rhinestones are a fun and glamorous way to add some sparkle and shine to your wardrobe. Whether you're looking to jazz up a plain t-shirt, add some bling to a jacket, or create a custom rhinestone design for a special event, learning how to add rhinestones to clothing is a DIY skill that's easy to learn and can yield impressive results.
In this beginner's guide, we'll show you how to add rhinestones to clothing in just a few simple steps, along with some tips and tricks to help you create your own custom rhinestone shirts and designs.
CCTO
Step 1: Gather Your Supplies
Before you get started, you will need to gather some materials. Here's what you'll need:
Rhinestones (in your desired size, shape, and color)
Clothing item (such as a t-shirt, jacket, or hat)
Transfer tape or clear contact paper
Iron or heat press
Piece of cloth or parchment paper
Rhinestone pick-up tool (optional)
Step 2: Create Your Rhinestone Design
The first step to adding rhinestones to clothing is to create your design. You can use a pre-made template or create your own design using software such as Adobe Illustrator or Silhouette Studio. Once you have your design, print it out on transfer paper or clear contact paper.
Step 3: Apply the Rhinestones
Next, it's time to apply the rhinestones to your clothing item. Start by placing the transfer paper or clear contact paper with your design onto the clothing item where you want the rhinestones to be. Use a rhinestone pick-up tool or your fingers to carefully place each rhinestone onto the transfer paper or clear contact paper. In this case, you will have your own rhinestones transfer design.
Once you've placed all the rhinestones, cover the design with a piece of cloth or parchment paper. Use a hot iron or heat press to apply heat and pressure to the rhinestones. Follow the instructions for your specific rhinestone type and heat source, but in general, you'll want to apply heat for 10-15 seconds and use medium pressure.
Step 4: Peel off the Transfer Paper
After applying heat, carefully peel off the transfer paper or clear contact paper to reveal your rhinestone design. If any rhinestones are not properly attached, you can repeat the heating process or use a rhinestone glue to secure them.
Step 5: Enjoy Your DIY Rhinestone Apparel!
Congratulations, you've successfully added rhinestones to your clothing item! Whether you're rocking a custom rhinestone design at a special event or just adding some sparkle to your everyday wardrobe, your DIY rhinestone apparel is sure to turn heads.
Remember, learning how to add rhinestones to clothing takes practice, so don't be afraid to experiment and try new things. With a little patience and creativity, you'll be a rhinestone DIY pro in no time!
Related Topic: Sparkle and Shine with Our Rhinestone Transfers


